
Creating a bookmark that reflects personal style is an enjoyable way to enhance the reading experience. Making your own bookmark allows for unique designs and personalized touches that store-bought options simply can’t match. Whether one prefers a minimalist look or a colorful array, DIY bookmarks can cater to every taste.
There are countless materials available for crafting bookmarks, such as cardstock, fabric, or even recycled materials. Adding personal elements like favorite quotes or images can transform a simple bookmark into a cherished item. The process not only encourages creativity but also results in unique bookmarks that can serve as thoughtful gifts.
Getting started is straightforward and requires minimal tools—often just scissors, glue, and a bit of imagination. The satisfaction of crafting something personal makes each bookmark a special addition to any reading nook.
Designing Your Bookmark
Creating a bookmark involves thoughtful design choices that reflect personal style and functionality. Key elements include selecting a theme, choosing appropriate materials, and incorporating personalized details to make the bookmark unique.
Choosing a Theme and Layout
A well-defined theme sets the tone for the bookmark. Popular themes include nature, literature, favorite quotes, or hobbies.
The layout is equally important. Consider using a vertical or horizontal format based on preferences.
Utilizing bookmark templates can streamline this process. Templates are available in design libraries and online platforms. They provide structure, ensuring the design remains visually appealing and functional.
Selecting Materials
Choosing materials influences both the durability and aesthetic of the bookmark.
Paper types range from cardstock to softer options like scrapbook paper. Thick cardstock offers sturdiness, while decorative paper can enhance visual appeal.
Additional materials may include fabric, felt, or even plastic. Fabric bookmarks can add a tactile element, while plastic ones provide weather resistance.
When making DIY bookmarks, ensure materials can withstand wear and tear from daily use.
Using Templates and Illustrations
Templates simplify the design process, allowing for a cohesive look. Many design websites offer free bookmark templates with various styles.
Illustrations can add a unique touch. They can be hand-drawn or sourced from digital libraries.
Incorporating illustrations that resonate with personal interests will enhance the bookmark’s appeal. For those less confident in their artistic skills, using digital images or clip art is an option.
Adding borders or backgrounds can boost visual interest and depth without complicating the overall design.
Adding Personalized Details
Personalization transforms a bookmark from ordinary to special. This could include adding a name, a memorable date, or a favorite quote.
Techniques like calligraphy or stamping can add character. Customizable templates provide spaces for such details. For a unique touch, consider adding embellishments, such as ribbons or stickers.
Also, make sure to choose the right pen. It makes a noticeable difference. For fine lines and vivid details, a Pilot gel pen or a FriXion Erasable Gel Pen can deliver smooth, pigmented ink that is less prone to feathering on common paper stocks.
Always test on a scrap to confirm there’s no bleed or smudge, and opt for archival or acid-free options for keepsakes. Working with a few tip sizes—plus metallic or pastel gel inks for small highlights—lets you combine lettering and tiny illustrations without adding bulk.
Using personalized bookmarks ensures a meaningful connection for the owner. Such details can make bookmarks excellent gifts for friends or family.
Creating the Bookmark
Making your own bookmarks is a rewarding way to express creativity while utilizing various materials. This guide will explore how to create paper, fabric, and decorative bookmarks, along with tips on assembling them.
Paper Bookmarks
Paper bookmarks are simple to create and can be customized in many ways. Start with a sturdy piece of cardstock or heavy paper, ideally measuring 2 inches by 6 inches.
Materials Needed:
- Cardstock or heavy paper
- Scissors
- Markers, paint, or stickers
- Hole punch (optional)
Once the base is cut, she can decorate it using markers or stickers. Drawing patterns, quotes, or illustrations enhances its appeal. To make it more durable, consider laminating the bookmark.
Adding a hole with a punch allows for attaching a tassel or ribbon, which can add a decorative touch. This straightforward process makes paper bookmarks a popular choice.
Fabric Bookmarks
Fabric bookmarks offer a unique texture and durability. They can be made from leftover cloth or felt, providing a soft yet strong option.
Materials Needed:
- Fabric or felt scraps
- Scissors
- Hot glue or sewing kit
- Decorative elements (buttons, ribbons)
Begin by cutting the fabric into a rectangle, similar to the size of a paper bookmark. She should consider sewing or using hot glue to secure edges if using fabric that frays.
Adding embellishments like buttons or decorative ribbons can make fabric bookmarks visually appealing. They hold up well over time and make excellent gifts.
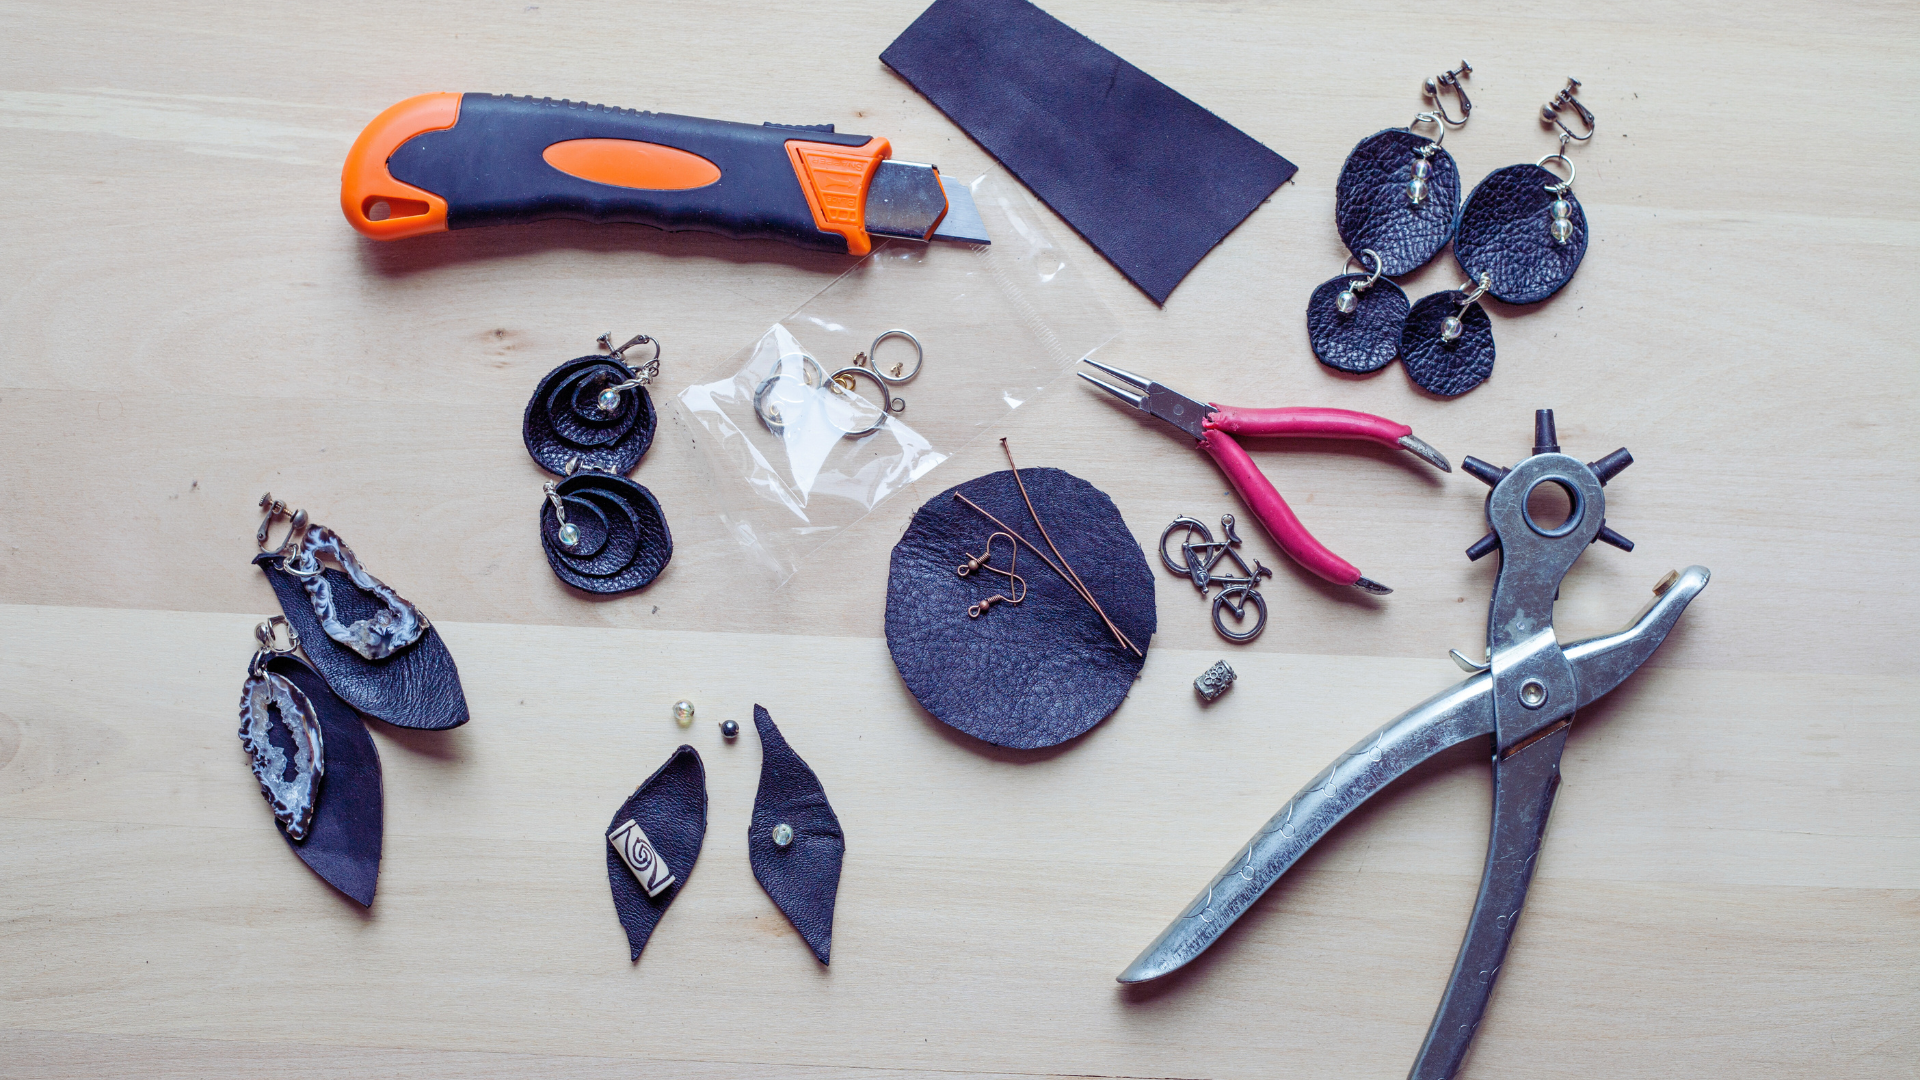
Decorative Bookmarks
Decorative bookmarks can involve a mix of materials, allowing for artistic freedom. She can use wood, leather, or even recycled materials for a distinctive look.
Materials Needed:
- Wooden or cardboard base
- Paint or wood stains
- Various embellishments (glitter, beads)
Using an old gift card or a piece of wood as a base is encouraged. She can paint or stain it for a personal touch.
Incorporating elements like beads or glitter creates a beautiful and eye-catching design. Decorative bookmarks add a unique flair and can be tailored to any theme or occasion.
Assembling Your Bookmark
The assembly process is crucial to ensure durability and functionality. Each type of bookmark may have unique assembly requirements but generally follows basic steps.
Assembly Steps:
- Choose materials according to the type of bookmark.
- Cut material to the desired size.
- Decorate and allow time for drying if adhesives are used.
After decorating, it’s important to secure any loose components. For paper bookmarks, laminating can add sturdiness. For fabric bookmarks, ensure all edges are sealed.
Finally, attach any additional elements like tassels or charms. This finishing touch not only enhances aesthetics but also provides a functional aspect for easy retrieval from books.
Special Bookmark Types
Bookmarks can take various forms, each offering unique functionality and aesthetic appeal. The following types are particularly distinct and can add flair to a reading experience.
Magnetic Bookmarks
Magnetic bookmarks are popular for their convenience and practicality. These bookmarks consist of two magnets held together by a decorative paper or plastic layer. When placed on a page, they securely grip the paper, preventing slipping or falling out.
Benefits include:
- Security: They stay in place, even in motion.
- Reusability: Unlike traditional bookmarks, magnetic ones do not damage pages.
- Wide Variety: They come in numerous designs to match personal styles.
Crafting a magnetic bookmark involves cutting a piece of decorative paper into a desired shape, and then adhering two strips of magnet to either side. It’s simple yet effective for anyone wanting a stylish and functional accessory.
Corner Bookmarks
Corner bookmarks are distinctive for their design, which fits snugly in the corner of a page. They often feature intricate patterns or artwork, leveraging the triangular shape to stay securely in place.
Key features include:
- Design Flexibility: They can be made from paper, fabric, or even cardstock.
- Visibility: Their location makes them easy to spot, enhancing reading flow.
- Crafting Ease: Making a corner bookmark involves folding a square piece of paper into a triangle and decorating it as desired.
This type of bookmark serves both practical and decorative purposes, making it a favorite among crafters.
Pressed Flower Bookmarks
Pressed flower bookmarks are a beautiful way to incorporate nature into reading. These bookmarks showcase flowers that have been flattened and dried, preserved between layers of clear laminate or resin.
Advantages are:
- Aesthetic Appeal: Each bookmark is unique, showcasing different blooms.
- Personal Touch: They can reflect personal tastes and seasonal changes.
- Crafting Process: To create one, gather flowers, press them between heavy books, and once dried, encase them in a protective layer.
Such bookmarks not only serve their functional purpose but also act as enchanting keepsakes that can evoke memories of specific seasons or events.
Finalizing and Sharing Your Bookmark
Completing a bookmark involves ensuring its protection, preparing for download and printing, and exploring customization options. Each of these steps is crucial for creating a bookmark that is both functional and aesthetically pleasing.
Protecting Your Creation
To safeguard a bookmark, consider using a laminator. This offers a durable finish that can withstand wear and tear. For those without access to a laminator, adhesive clear contact paper serves as an effective alternative.
Choosing high-resolution images is equally important. Low-quality images can lead to pixelation. As a final touch, she can opt for rounded edges with scissors or corner rounders to prevent snags and create a polished look.
Downloading and Printing
To download the bookmark, it is essential to ensure that the format is suitable for printing. Most users prefer PDF or PNG formats for the best quality. After downloading, selecting the right paper is vital. Cardstock works well due to its durability and thickness.
When printing, utilizing a color printer typically yields the best results. Adjust the printer settings to match the paper type for optimal output. If working with multiple bookmarks, print a test copy first to assess color and clarity before proceeding with the entire batch.
Creating Custom Bookmarks
For those interested in personalized designs, using an online bookmark maker can provide extensive customization options. Various websites offer templates and graphics that can be tailored to individual preferences.
Including personal photos or artwork can bring a unique touch to each bookmark. Additionally, varying sizes and shapes can be explored. Once the design is complete, saving it as a high-resolution file will enable easy downloading and printing. This process ensures that each custom bookmark is truly one-of-a-kind.

Leave a Reply